|
|
|
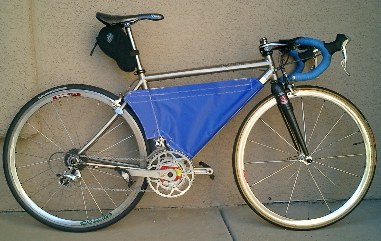
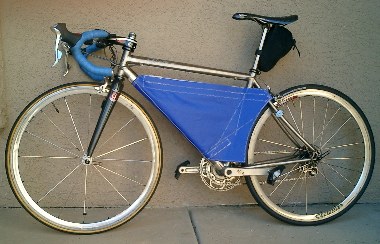
| My Ghisallo, somewhere in Arizona |
When I received the brand-new frame in the Spring of 2003, I noticed Litespeed forgot to put in the two extra bosses, and I had to have it sent back. Such are the delays before ideas come into fruition! My original idea was to have the sub-triangle formed by the down and seat tube plus the steel cable wrapped or covered to form a simple, ultra-lightweight and easy-to-use storage compartment for my 2 liter Camelbak bladder.
The next problem was how to get an appropriate drink bag fabricated. Originally, I thought of getting a square of silver emergency blanket mylar to simply wrap around the frame. Can't get any lighter than that. However, mylar tears easily, and it is difficult to glue properly or attach velcro to it. I also experimented with multiple layers of kitchen cling film (Reynolds Wrap), as well as heat-shrink film from an arts supply store. But all of these turned out to be too delicate for use on a bike. And, in any case, the whole thing looked very homemade and out of place on a multi-thousand dollar frame.
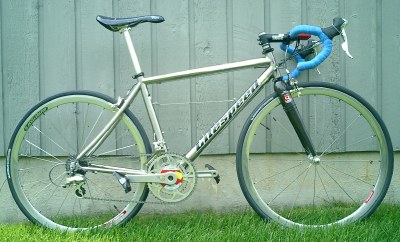
I even did some research on getting suitable lightweight kite material. But I wasn't looking forward to the idea of stitching the whole thing up together myself with very much enthusiasm. I ended up going to Paris in August for Paris-Brest-Paris (PBP), still with the Nashbar bag in place.
Also sewn in are a few other pieces of velcro at the seattube. This is apparent from the white stitching in the pictures above. Critical areas are also strategically reinforced with extra material. It can all be removed in under 30 seconds.
Professionally made in South Jersey, the cost was around $100. I received it in October 2003, nearly a year after the start of the project.
Some tricky details are in the sizing. A custom template had to be used, especially with regard to the cutout for the front derailleur. My friend also decided to extend the original minimalist concept to enclose the gap between the seattube and the rear wheel. Not sure I'm going to keep this extension.
Sandiway Fong
Tucson AZ
October 24th 2003